Switching to a heat pump is a big decision — and many European households have stumbled through it. A UK government-funded field study found that out of 56 homes with installed heat pumps, roughly 70% had sizing errors: 59% oversized, about 11% undersized. That directly translates to lower efficiency and inadequate heating. On a broader scale, a large field study published in Nature Communications monitored 1,023 residential heat pumps across 10 Central European countries and found that 17% of air-source units failed to meet the EU minimum seasonal performance (SCOP) threshold.
The message is clear: the quality of your preparation before installation is the single biggest factor determining how satisfied you'll be afterwards.
Here are the five things you must check before installing an air source heat pump.
1. Home Energy Assessment — Insulation Comes First
A heat pump works on a completely different principle to a gas boiler. A boiler blasts high-temperature heat into your home and can mask a draughty house with sheer output. A heat pump delivers steady, lower-temperature warmth. If your insulation is poor, the heat leaks straight out, the unit runs constantly, and your electricity bill will make you question every decision you have ever made.
Before installation, do two things: check your home's EPC (Energy Performance Certificate) rating, and commission a professional heat loss calculation. The EPC is the EU-mandated building energy label, graded from A (most efficient) to G (least efficient). The revised EU Energy Performance of Buildings Directive (EPBD 2024/1275) requires member states to progressively raise minimum residential energy standards, and several countries now require at least EPC grade D to qualify for heat pump subsidies.
If your home is rated E, F, or G, hold off on the heat pump. Put your money into cavity wall insulation, loft insulation, and window upgrades first. The return on investment is far better.
A quick rule of thumb: if your annual heating energy consumption exceeds 150 kWh/m², your insulation is inadequate, and the heat pump's COP (coefficient of performance) will suffer significantly. Insulate first, install later — the order matters.
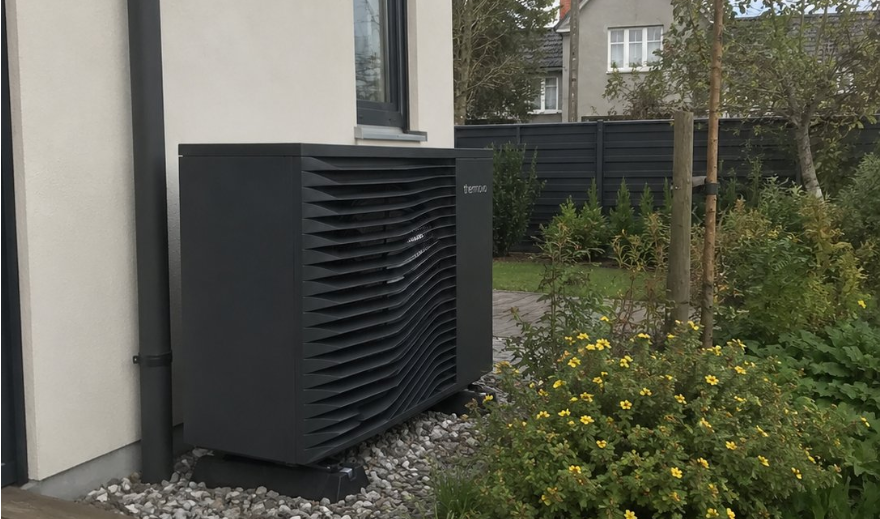
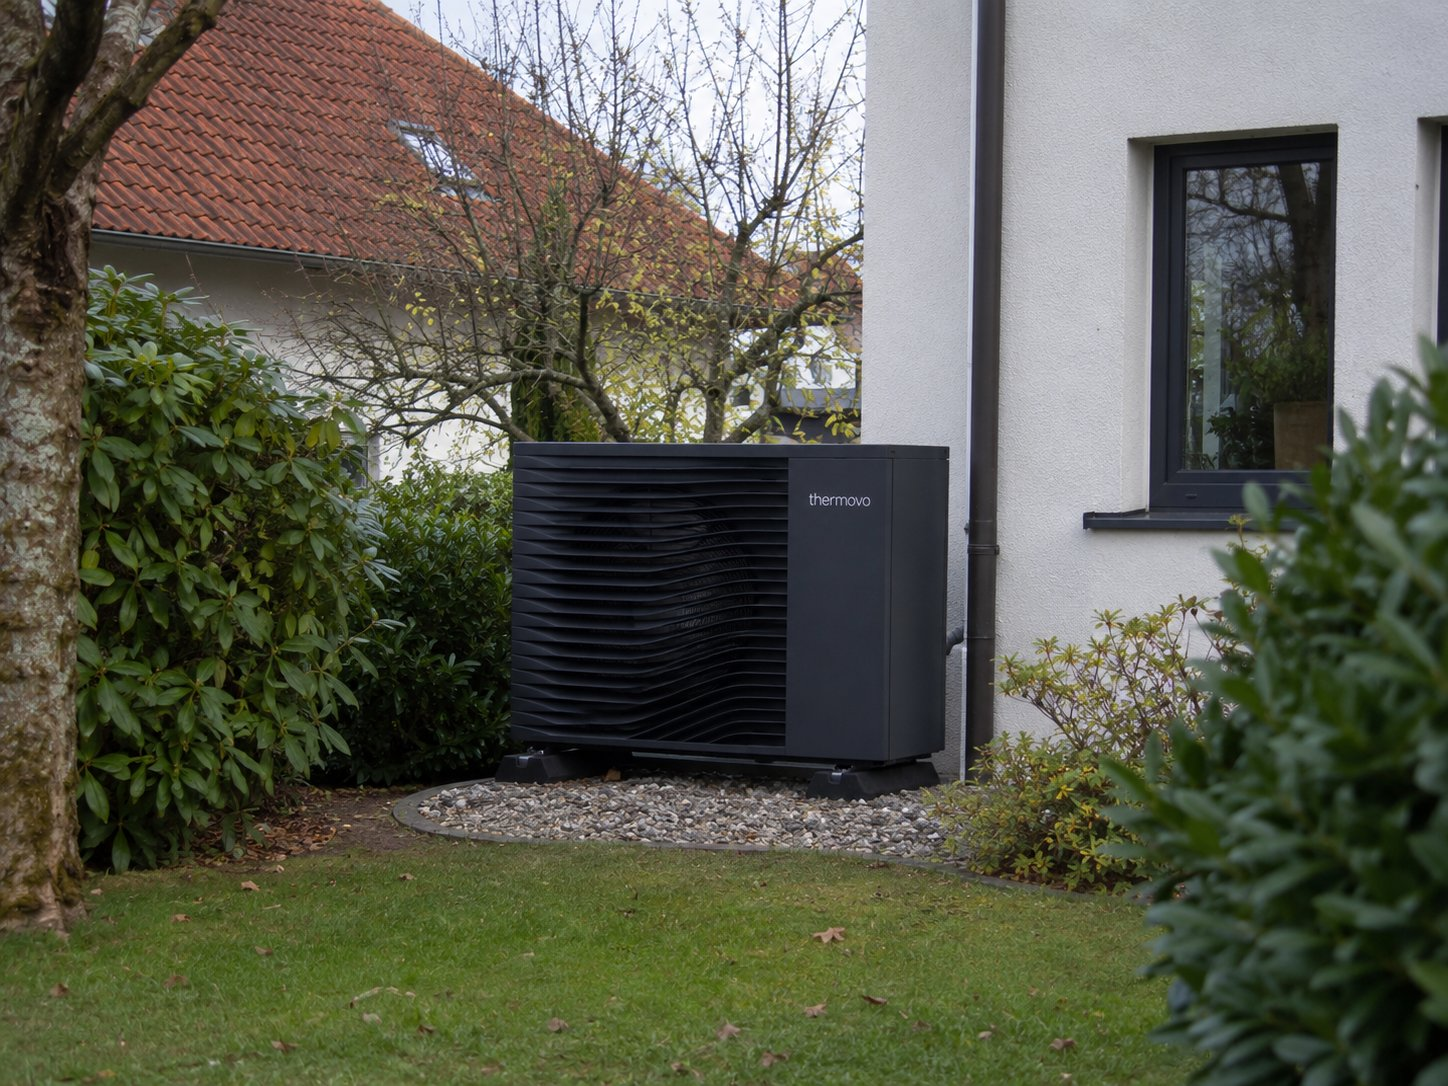
2. Outdoor Unit Placement — Noise, Space, and Airflow
Where you put the outdoor unit directly determines how well it performs and whether your neighbours will ever speak to you again. Get it wrong and you're looking at reduced efficiency at best, noise complaints and council fines at worst.
Noise is the first constraint. Under the UK MCS certification standard (MCS 020), the sound pressure level from an air source heat pump measured 1 metre from the nearest habitable room window of a neighbouring property must not exceed 42 dB(A), with a recommended nighttime limit of 37 dB(A). For reference, 42 dB is roughly the hum of a refrigerator. Standards across continental Europe vary slightly but generally sit in the 40-45 dB range. Since May 2025, the UK has removed the hard rule requiring outdoor units to be at least 1 metre from the property boundary, but the noise limits remain strictly enforced — the closer you are to your neighbours, the more urgent it is to choose a low-noise model or install acoustic barriers.
There are several other hard requirements for placement: at least 300-500 mm clearance around all sides of the unit; intake and exhaust must be unobstructed; never place the unit in an enclosed corner or under an overhang where hot air can recirculate; prefer the north or east side of the house to avoid summer sun degrading heat dissipation; the ground must drain properly — condensate must not flow onto a neighbour's property; and keep the pipe run between outdoor and indoor units as short as possible, as every extra metre adds to heat loss.
3. Indoor System Compatibility — Radiators Don't Always Need Replacing, but Flow Temperatures Do Need Matching
A common myth is that switching to a heat pump means ripping out all your radiators and installing underfloor heating. Twenty years of field data show that radiator systems paired with heat pumps can easily achieve an SPF of 3.0 or higher — provided the flow temperature is right.
The critical number: a typical gas boiler delivers water at 60-80°C, while an air source heat pump runs most efficiently at 35-55°C. For every 1°C you lower the flow temperature, system efficiency improves by roughly 0.1 SPF points. This means if your existing radiators can heat the room comfortably with water at 45-50°C, you can keep them — no extra spending needed. Underfloor heating, which runs at an even lower 30-40°C, is a natural match for heat pumps and can reach higher efficiency ceilings.
Older cast-iron radiators or undersized units, however, may struggle to heat the room with low-temperature water. Two paths: replace key room radiators with larger low-temperature models (manageable cost), or accept slightly lower efficiency with existing radiators and upgrade later when budget allows. The installer's heat loss calculation should assess each room's radiator low-temperature output individually — visual guesswork isn't good enough here.
4. Electrical Capacity — Don't Let the Heat Pump Trip Your Main Breaker
An air source heat pump is one of the largest electrical loads in a home. An 8-12 kW air-to-water heat pump draws roughly 3-5 kW of electrical input during normal heating (thanks to a COP of 3-4), but if the electric backup heater kicks in simultaneously, the instantaneous draw can surge past 10 kW.
Most European homes run on single-phase 230V supply, with standard meters rated at 3×25A to 3×35A, equating to roughly 17-25 kW of connection capacity. For a typical home, a heat pump alongside everyday appliances (induction hob, washing machine, water heater) is generally fine on single-phase. But if you have a larger property, have specified a heat pump above 14 kW, or also have an EV charger, single-phase may fall short. In that case you'll need to apply to your grid operator for a three-phase 400V upgrade, which typically takes 4-8 weeks for approval and installation.
One more thing: Germany has required since 2025 that all heat pumps applying for BAFA subsidies must be connected to a certified Smart Meter Gateway. This means you might need a meter replacement even if you don't need a three-phase upgrade. The Netherlands and France are rolling out similar programmes. Check with your local grid operator before installation.
5. Local Regulations and Subsidies — Sort Out the Money Before You Start
Heat pump subsidy schemes vary wildly across Europe and change every year. Here's the 2026 picture for the main markets:
Germany's BAFA subsidy is among the most generous in Europe. The 2026 base subsidy covers 30% of eligible costs. Replacing an oil, gas, or coal boiler adds a 20% "climate speed bonus". Households with an annual taxable income under €40,000 qualify for an additional 30% income bonus. Stacked together, the maximum is 70%, capped at €21,000 (70% of a €30,000 cost cap for the first dwelling unit). Critical point: the application must be submitted before installation — retroactive applications are rejected. An alternative for those not meeting criteria is the income tax deduction under §35c EStG, offering 20% off up to €40,000 over three years.
France's MaPrimeRénov' 2026 is tiered by household income across four bands: air-to-water heat pump subsidies range from €8,400 for very low-income households (blue band) to €2,400 for high-income households (pink band). Homes rated F or G for energy performance ("heat sieves") cannot apply for standalone heat pump subsidies — they must go through the full accompanied renovation pathway. All applications require an RGE QualiPAC certified installer, and the quote must receive ANAH approval before the contract is signed.
The Netherlands has scaled back ISDE subsidies for 2026: the maximum for air-to-water heat pumps dropped from €2,250 to €1,875, and the minimum SCOP threshold rose from 3.8 to 4.0. However, ISDE can be combined with insulation subsidies — if you also insulate within 24 months, the insulation portion is doubled. Belgium's Flemish region uses the Mijn VerbouwPremie system with amounts based on income category and equipment efficiency, while Wallonia and Brussels run separate schemes.
One universal rule: nearly every national subsidy programme requires application or approval before installation begins. The window for retroactive applications is tiny at best, and often nonexistent. Subsidy eligibility confirmation must sit at step one of your installation process — not step five.
Installing a heat pump isn't like swapping a household appliance. Building insulation, equipment sizing, indoor system compatibility, electrical infrastructure, and regulatory compliance — all five pieces need to work together. Drop any one of them and you'll either pay more than necessary, or end up with a system that never quite performs the way it should. Get these five checks right, and the whole process runs smoother, with far better results after installation.
If you're considering the switch from a gas boiler to an air source heat pump and aren't sure whether your home is ready, contact Thermovo for a free installation assessment. We'll walk through every item on this checklist with you and solve the problems before installation day.